Couch CMS has great function where designers are allowed to create complete static website and then turn it into dynamic one.
Step one – Download CouchCMS
First step is to download CouchCMS version 1.4 and unzip it.
Folder called ‘Couch’ will be created with all files needed. This is what all files look like –

Step two – Create database on your server
Creating database for CouchCMS is needed. To find out how to do it step by step, please read my post here.
Step three – Rename the file
Rename the file named config.example.php to config.php.
Step four – Add database details
Open config.php file and add database name, database user name, database password and MySQL host name which is usually localhost.

Step five – Rename folder
Make sure that original folder with all files has changed name otherwise it is easy to hack!!!! So do not forget to rename it and then upload to the server.
Step six – Add renamed couch folder into folder with HTML/CSS template and upload it to the server
Step seven – Run installation
To run installation of CouchCMS, type the URL of your website, for example: http://www.domain.com/couchcms
(do not forget to change it to your own website!)
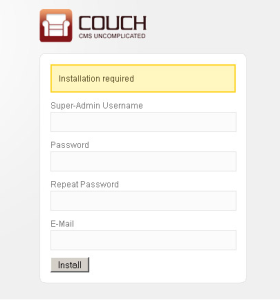
Add details and click ‘Install’.
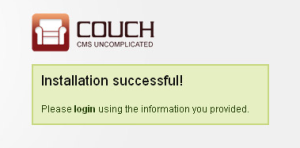
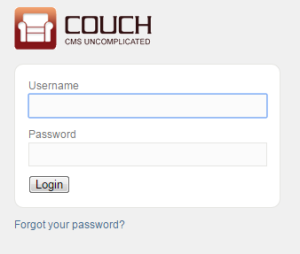
Add your details and log in.
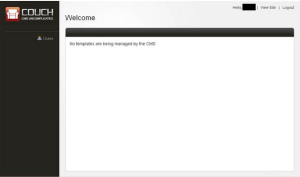
This is what admin section looks like straight after installation –


